
Anime Zombie Arena Wave Survival Strategy
Pace early, mid, and late waves with positioning, currency discipline, and honest boss prep.
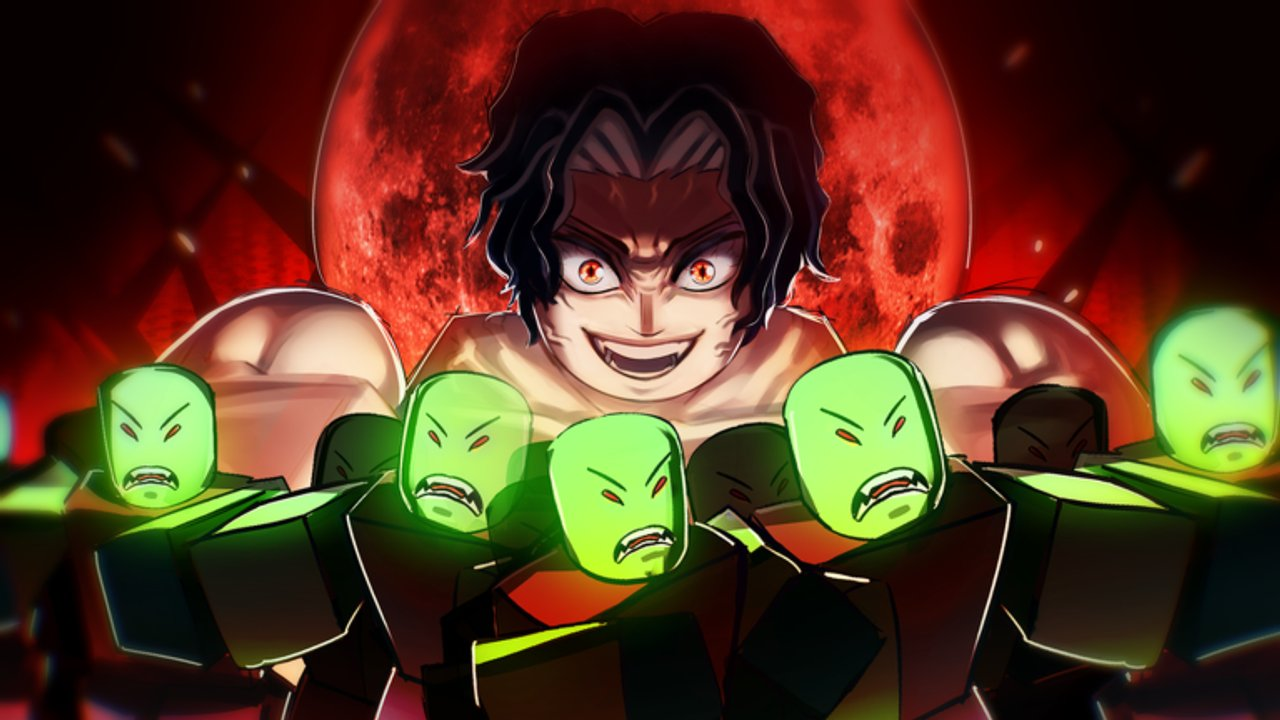
Wave survival is the heartbeat of Anime Zombie Arena. Rubicon Z’s free Roblox arena packs up to 25 players into endless zombie waves, unlockable classes with unique abilities, summonable legendary units, and escalating bosses. This guide teaches pacing frameworks—early, mid, and late wave habits, positioning, when to spend versus save currency, and how classes, summons, and boss prep fit the same loop. Exact enemy HP tables are not published here on purpose: patch numbers go stale. Decision frameworks stay useful.
If you still need the day-one path, start with Getting Started. For the mechanical loop underneath this strategy page, keep How to Play open in another tab.
What “strategy” means without a spreadsheet
A good wave plan answers four questions every few waves:
- Are we stable? Deaths rare, clear finishing before the next density spike feels unfair.
- Are we progressing? Currency, unlock progress, or summon resources are moving—not just highlight damage.
- Are we covering roles? DPS, support, sustain, and summoner jobs exist somewhere in the lobby (Team Building Guide).
- Are we saving a window for bosses? At least one coordinated burst and summon plan remains intact.
If any answer flips to no, change one variable: position, spend rate, role coverage, or wave goal. Changing everything at once hides what worked.
Early waves: learn the map and bank options
Early waves exist to teach pathing and to fund the rest of the run. Treat them as a lab with pay.
Goals
- Memorize one default reset lane (a wall, pad, or prop you can fall back to without thinking).
- Confirm your class archetype job for the session—DPS, support, tank/sustain, or summoner-leaning—using the Classes Guide.
- Spend only on bottleneck fixes you already felt (survivability if you die first; clear speed if packs linger). The Farming Guide expands the spend rule.
Habits
- Keep big abilities for the first true density spike, not the opening three zombies.
- Summon lightly or not at all until you see a pack that actually slows the lobby (Units and Summons).
- Watch screen edges for side spawns while you fight the current cluster.
- Announce your role once in chat so 25-player noise has at least one useful signal.
Currency rule for early game: prefer options over cosmetics. Bank enough that a mid-wave panic buy is a choice, not a forced empty wallet. Redeem Codes before you treat farmed currency as your only income.
Mid waves: convert stability into tempo
Mid waves are where lobbies either snowball or start leaking.
Goals
- Raise clear tempo without abandoning reset discipline.
- Lock a summon cadence—which spikes earn a legendary unit drop, which do not.
- Rebalance roles if the public lobby stacked identical kits (Team Building Guide, Class Tier List).
Positioning framework
| Situation | Preferred shape | Why |
|---|---|---|
| Soft trash, good AoE | Loose death ball | Shared damage and support range |
| Cone / line telegraphs incoming | Spread to pre-called pads | Avoid multi-downs |
| Flank spawns eating backs | Split peelers on edges | Protect the main clear |
| Resource farming focus | Stable band, fewer hero dives | Progress per minute beats clips |
Inside the ball, decide whether you are inside DPS or outside peeler. Mixing those jobs randomly creates friendly chaos—covered in depth on How to Play.
Spend vs save in mid game
Spend when the purchase removes a wipe cause you already saw twice. Save when the lobby is stable and a boss attempt is the next goal. Mid-wave impulse unlocks that you will not practice tonight are a tax—log them for the next session’s Loadout Planner instead.
Score mid-game unlock candidates with the same pillars as the Tier List Hub: clear speed, survivability, co-op value, unlock cost efficiency. Pair unit investments with the Unit Tier List.
Late waves: hold structure under density
Late waves punish greed and reward boring consistency.
Goals
- Preserve cooldown honesty—never press a panic button without a three-word reason.
- Keep summon windows aligned with lobby burst, not personal fear.
- Protect sustain and support players so the clear engine does not lose its battery.
Late-wave pacing tips
- Shorten your personal attack package: hit, check flanks, reset, repeat.
- Call collapses early (“east leaking,” “stack mid,” “save summons”).
- If the lobby is melting, drop wave ambition and restabilize—endless mode has no participation trophy for a stylish wipe.
- Convert a stable late band into either a boss attempt (Boss Guide) or a controlled farm stop (Farming Guide).
Honest limitation: without published HP tables, you cannot theorycraft exact breakpoints. You can track personal notes—wave band reached stably, deaths per ten waves, whether summons felt early or late. Three sessions of notes beat one viral fake spreadsheet.
How classes fit the wave loop
Classes multiply fundamentals; they do not replace them.
- DPS owns trash tempo and boss burn phases—dies first if resets slip.
- Support keeps uptime high—fails if standing too far to matter.
- Tank / sustain buys time and space—fails if the lobby never uses that space.
- Summoner-leaning kits multiply pressure—fail when resources dump into empty air.
Pick tonight’s primary job with the Classes Guide and sanity-check it against the Class Tier List. In a 25-player server, filling a missing role often raises clear success more than doubling the most popular damage fantasy.
How summons fit the wave loop
Treat legendary units like a second ultimate:
- Pre-declare the window when chat is calm.
- Drop where allies can protect or amplify the unit.
- Avoid known wipe animations when waiting a few seconds is free.
- On pure farm nights, spend only on spikes that actually slow clear speed.
Full economy rules live in Units and Summons. Evaluation criteria live in the Unit Tier List.
Boss prep inside the same strategy
Bosses are late-wave logic with a spotlight. Before you pull:
- Restock whatever the live UI actually offers—do not invent consumables.
- Agree who peels, who burns, who summons on the burst window.
- Keep one defensive cooldown in reserve for the first unknown telegraph.
- Treat the first pull as information; spend greedily on the second only if patterns are readable.
Use the full framework on the Boss Guide. If you wipe, change one variable—ring position, summon timing, or role coverage—before requeue tilt sets in.
Session templates you can copy
Template A — Climb band (45–60 min)
- Early: lab pathing, minimal spends.
- Mid: lock summon cadence, fix one bottleneck unlock.
- Late: hold structure; stop at first tilt or target band.
Template B — Farm then boss (split session)
- First half: stable band farming with thrifty summons.
- Second half: swap to boss composition and attempt informed pulls.
- Planner checklist: Loadout Planner.
Template C — Role lab
- Lock one archetype all session.
- Measure deaths and clear feel, not ego damage.
- Decide keep/respec using tier-list pillars after the run.
Common wave-strategy mistakes
- Standing still for damage meters until a side spawn wraps you.
- Spending currency the moment it appears with no bottleneck story.
- Saving every summon forever, then dying with resources unused.
- Dumping every summon on wave one panic.
- Ignoring Updates after pacing or boss changes.
- Playing “solo carry” mentally in a 25-player lobby.
Related reading
- Getting Started — day-one restraint.
- How to Play — loop, positioning, ability timing.
- Farming Guide — efficient progression.
- Boss Guide — telegraph and burst structure.
- Classes Guide — archetype unlocks.
- Units and Summons — summon timing.
- Team Building Guide — lobby roles and communication.
- Loadout Planner — pre-session checklist.
- Class Tier List and Unit Tier List — investment scoring.
- Guides Hub — full index.
Pace the early bank, mid tempo, and late structure—and Anime Zombie Arena’s endless waves become a plan you execute, not a blur you survive by accident.
Frequently Asked Questions
Quick answers for Anime Zombie Arena players.
What is the best wave strategy in Anime Zombie Arena?
Stabilize early with a reset lane and thrifty spends, raise mid-wave tempo with role coverage and timed summons, then hold late-wave structure for farm goals or boss pulls.
When should I spend currency during a run?
Spend when a purchase removes a wipe cause you have already seen twice. Save when the lobby is stable and you are banking for a boss attempt or a planned unlock.
Why does this guide omit enemy HP tables?
Exact numbers are not reliably published and go stale after patches. Track your own stable wave band, deaths, and summon timing instead.
How do classes and summons fit wave pacing?
Classes define your job (DPS, support, sustain, summoner). Legendary units act like timed ultimates—drop them on density spikes or burst windows, not into empty space.
Should I push late waves or stop to farm?
Push while clears stay clean and deaths stay rare. If tempo collapses, drop ambition, restabilize, or switch to a Farming Guide template with a stop condition.
What should I do before a boss after a long wave climb?
Restock what the live UI offers, assign peel/burn/summon jobs, keep one defensive tool for unknown telegraphs, and treat the first pull as information.